Update 9/30/2021: Mailgun, and the entire Pathwire portfolio, was acquired by European communication-provider-as-a-service giant Sinch for almost $2 billion.
There are tons of email service providers on the market today. SMTP.com , Mailchimp, Mailgun, Sendinblue, the list goes on.
As with many highly competitive industries, there’s a tendency for companies to sprint towards feature parity. Over time the differences between the companies become meaningless because they all offer many of the same products:
- Email API
- Email validations
- Email marketing
- Email templates
But email is a very old technology, and email platforms have to maintain positive reputations with inbox providers like Gmail and Yahoo, otherwise all of their client’s email could land in the spam folder.
See my review of the best email api services to look at other options besides Mailgun.
There’s a lot that goes into running an email service provider like Mailgun.
I’ll tell you exactly why I think Mailgun is doing a lot of things right and some areas they could be better at.
Why trust me?
I worked at Mailgun for two years as they grew from roughly $50 million/year in revenue to $100 million/year.
They acquired two companies while I was there, Mailjet and Email On Acid.
I lead the marketing team managing Mailgun’s website, SEO, paid media campaigns, and conversion rate optimization program.
I wrote the onboarding emails every new Mailgun user received, and I also helped manage the development of their new Pathwire website.
I’ve since taken another job at Loom but my experience leading Mailgun’s growth marketing team gives me a unique perspective to review their product.
I had an insider’s look into how inbox providers continue to fight spam, what ESP’s like Mailgun do to kick bad actors off their platform, and how they prioritize new features.
Hilariously, my long and authentic review ranks below other worse reviews in Google.
So it goes, my friends.
If you made it here anyway. Thank you and I hope this is useful.
Affiliate Disclosure
I am not part of Mailgun’s affiliate program and I was not paid to write this review.
However, this review contains paid sponsored placements for a Mailgun alternative, SMTP.com
I only review software I’ve personally used, or in this case software by a company I used to work for.
What Is Mailgun?
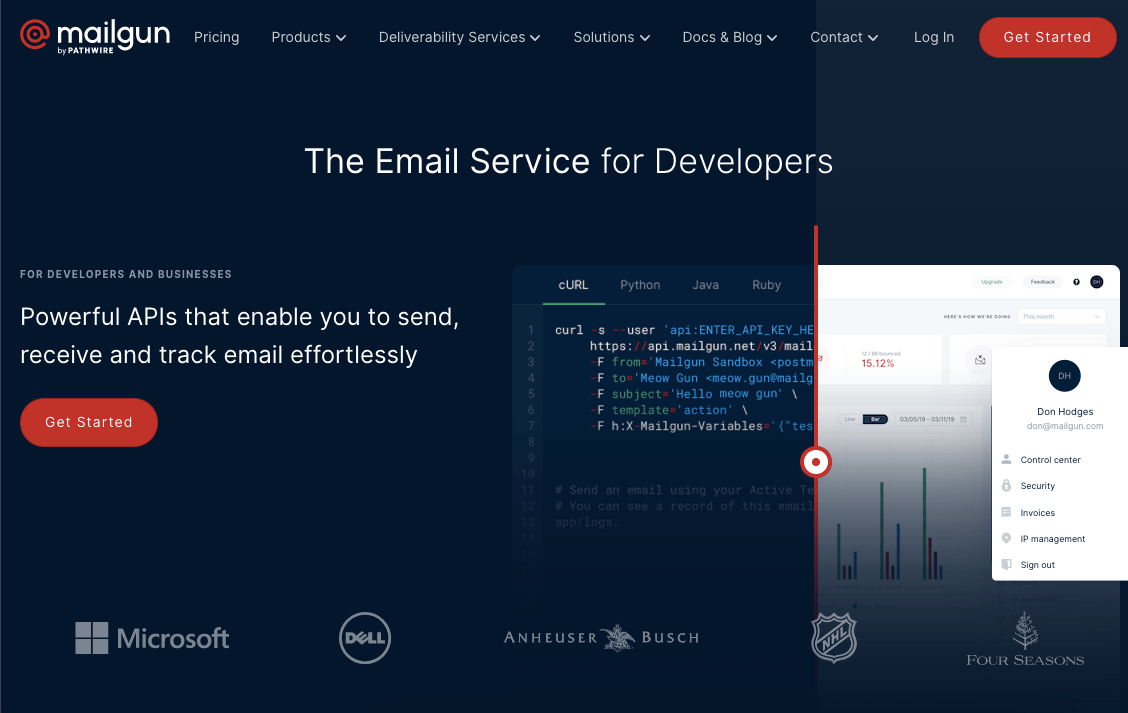
Mailgun is a leading provider of email API, validation, and deliverability services. They send over 20 billion emails/month for brands like Lyft, Substack, Pinterest, and more.
Every email sent through Substack is actually routed and sent through Mailgun’s email infrastructure. The infrastructure and server capacity required to send billions of emails every month is highly complicated and many companies choose to use a provider like Mailgun to do the actual sending of emails.
Companies like Intercom, Klaviyo, and Iterable also don’t manage their own email servers. In Iterable’s case they have a few partners, but all of Intercom and Klaviyo’s email is sent through Sendgrid.
Mailgun’s corporate structure reorganized under a new brand called Pathwire. By 2022 the plan was to roll Mailgun, Mailjet, and Email on Acid into the new Pathwire brand, until Sinch acquired the whole portfolio of companies.
I believe there will continue to be market consolidation, through M&A activity, and the market for email providers will group around a few large providers.
New start-ups won’t be able to compete for features and infrastructure because companies like Mailgun, Twilio Sendgrid, Messagebird, and Mailchimp, will have a huge head start.
Those companies will also aggregate all of the talent required to build scalable and efficient email infrastructure. Finding experienced engineers with the knowledge of building email sending and email verification pipelines will be difficult for new companies.
Mailgun Review
When reviewing email platforms there are several things to look at:
- How good is their support?
- Are their features mature?
- How long have they been in business?
- Are they a one stop shop for your communication needs, with SMS, Email, Validations, and Deliverability services?
I’ll go through each item individually.
How good is Mailgun’s support?
Mailgun’s support responsive time is generally under 72 hours. This can fluctuate depending on demand and it also depends what plan you’re on.
High value Enterprise senders will always get priority support. Free users often won’t get ticket support and have to rely on their help center documentation.
I had a first hand look at how Mailgun’s support team operates and I can confidently say that they have industry leading support. Their team knows their stuff.
Mailgun’s support leadership team is based in the US in San Antonio.
But what some people might not understand is that Mailgun’s support can’t troubleshoot your email deliverability problems.
If your emails are hitting Yahoo’s spam filter there’s not a lot Mailgun as a platform can do, because Yahoo is choosing to filter your email for specific reasons.
But Mailgun can help troubleshoot account problems, get you setup with a dedicated IP, and even help you add and verify your domain name with your domain provider like GoDaddy or NameCheap.
I’d give Mailgun’s support high marks on the whole. No support team is perfect and there will always be negative one-off incidents, but overall they have really fantastic support and their executive leadership team continues to invest in support as a competitive differentiator.
Are Mailgun’s features mature?
Mailgun was one of the earliest cloud-first email providers. Sendgrid and Sparkpost, their two closest competitors in terms of product-fit and email volume, both have on-premise email servers as well as some cloud infrastructure.
Currently Mailgun’s infrastructure is hosted on AWS but they could also move to GCP or Azure for added reliability.
Mailgun’s cloud-first approach is advantageous for several reasons, including cost, scalability, and reliability. Mailgun can scale up and down to meet demand and they don’t have the ongoing cost of maintaining dedicated servers in a datacenter.
Mailgun’s Email API product is very mature and realiable. Their email validations product, which lets you upload a list of emails via their UI or query their service over API, will tell you which emails are good or bad.
They have an excellent datasource for their validations product which is different than providers like Kickbox or BriteVerify. Because Mailgun sends billions of emails every month their dataset is more accurate.
While Sendgrid does have a validations product, it’s not as mature as Mailgun’s. Sendgrid developed their validations product almost 2 years after Mailgun launched there’s, and frankly their still behind.
Mailgun’s validations are also very fast. They have the fastest validation response time in the industry. But why is that important?
You can hit Mailgun’s validation API from your webforms, to validate email addresses in real time as user’s submit your form. Response time is important so your users don’t bounce waiting for the form to complete validation.
A large social network uses Mailgun in their user signup flow, and if it’s fast enough for them, it’s fast enough for any other company in the world.
How long have they been in business?
Imagine you’re sending 50 million emails/month, and your email provider suddenly announces they’re going out of business.
Overnight your emails stop delivering, and your team has to scramble to find a new provider, migrate your API calls over to the new system, and essentially start from scratch.
That would be a nightmare. And it’s entirely possible because not every business succeeds.
It’s important to choose an email provider with a proven track record of growth and investments.
Mailgun graduated from Y Combinator, then was purchased by Rackspace. They eventually spun out of Rackspace with investment from Turn/River, and then were later acquired by ThomaBravo in 2019.
In fact, my first day at Mailgun was when the ThomaBravo announcement went public in April 2019.
Mailgun has been in business for over 10 years and they have the backing of some big names in private equity.
Mailgun is also a profitable business. Other email companies like Sendinblue are growing with a venture capital model, where it’s common to acquire users at the cost of profitability.
This means that Mailgun has a dependable stream of profits to continue investing in future product development, and also weather any downturns in the market.
Mailgun also didn’t have layoffs or paycuts during the height of the Covid pandemic due to their profitability.
Small companies might not consider this, but for large senders they place a lot of importance in the stability of their email provider.
Are they a one-stop shop?

There are probably 50 email service providers to choose from. How do you pick one?
I recommend choosing one that does more than just sending email. Key features to look for are:
- Do they offer email validations to clean your email list?
- Do they have a drag-and-drop email editor?
- Do they have deliverability experts?
- Can they do email testing and previewing before you send your campaigns?
Mailgun has all of those features. The last one came with their recent acquisition of Email on Acid in May 2021.
I covered email validations in an earlier section so I want to focus on the email deliverability feature here.
Everyone wants their emails to land in the inbox. For many companies email marketing is a dependable source of revenue as long as their emails keep inboxing.
For anyone on Mailgun’s self-service plans, there aren’t any extra features that will magically improve your deliverability.
And to be honest you should be skeptical of places like Lemlist that claim to be able to ensure you’ll always hit the inbox. Cold emails is a fancy word for spam.
Users should be expecting to receive your emails because they went through a double opt-in process to sign-up in the first place.
For big senders, which is anyone sending 500,000 emails a month or more, Mailgun does offer Deliverability Services.
They have a whole Deliverability Services team that partners with you to improve your deliverability. It’s typically a 12-month contract that is attached to a sending volume commitment.
That contractual commitment is partly because you as an email sender need to invest in the long-term of your email deliverability. There are no quick overnight fixes to get you out of the spam folder.
Sending good email is a lot like writing good content. There are no hacks to become a NYT bestselling writer overnight, just like fixing your email deliverability can’t happen overnight either.
Mailgun Features
- Email API & SMTP Relay
- Email Routes & Forwarding
- Email Templates
- Inbox Placement
- Send Time Optimization
- Webhooks, Analytics, and Logs
- Shared & Dedicated IP Addresses
- Mailing Lists
- Email Deliverability Services
- Rapid Fire Burst Sending
Mailgun Competitors
- SMTP.com
- Sendgrid (owned by Twilio)
- Sparkpost (owned by MessageBird)
- Sendinblue
- Mailchimp
- Postmark
- CampaignMonitor
I could write a whole article about how each of the companies listed above has key differences from Mailgun. They all have unique features and positioning in the market.
Mailchimp markets mainly to SMBs while Sparkpost markets entirely to large enterprise companies.
Mailgun vs Sendgrid
Sendgid is Mailgun’s largest and closest competitor in features, price, and target audience.
Sendgrid is owned by Twilio. Like Mailgun, Twilio grew rapidly by selling to developers. Twilio purchased Segment, the largest customer-data platform(CDP), in December 2020.
Sendgrid has both email API and email marketing features. They’re priced separately, so if you only need an API then you’ll get a cheaper price than if you also need their suite of marketing tools.
Again, I could devote another separate article on the specific differences between Sendgrid and Mailgun at every pricing tier: free, subscription, and enterprise.
If I write that review I’ll link it here.
While Sendgrid has both an email API and SMTP service, their SMTP servers are more mature and developed. Their email API isn’t that good compared to Mailguns.
Email API’s are a faster, more efficient, and often easier way to send email. SMTP is a legacy technology that wasn’t meant for today’s volume of emails. If you have the option you should chose API every time.
On the email marketing side Sendgrid is stronger. They have a more robust and well-developed drag-and-drop email editor. Mailgun acquired Mailjet primarily because of their email marketing editor, but Sendgrid’s is still better.
For support, Mailgun has better Support. Sendgrid’s support times are very long, just look at their TrustPilot reviews.
I would choose Mailgun over Sendgrid every time, but I am clearly biased here because not only did I used to work at Mailgun, I spent two years competing against Sendgrid.
Wrapping Up
My 2 years working at Mailgun give me a unique perspective to review their product. I no longer work there so I feel like i can provide a relatively unbiased review of their product and systems.
I’m a big fan of their product, it’s why I wanted to work there in the first place, and I think they have a really big future ahead of then. They will quickly grow to sending billions of emails a day, and will hit $200+ million in revenue very fast.
If you’re a large company and want a personal intro to Mailgun then send me an email:
I’d recommend Mailgun to every company looking for a reliable and robust email service provider.